Module 1
 Module 1
Cameras & Lenses
Get to know the author, George Seper, before he introduces you to the world of professional photography as it exists today. This module is an extensive look at the equipment you will use, covering cameras, how they function and when to take advantage of the broad range of lenses available to you.
Module Content:
- Introduction to the Course
- About The Author
- The Still Image
- The Digital Camera
- Camera Overview
- Amateur Cameras
- Phone cameras
- Point and shoot
- Micro four third
- Bridge and Super Zoom Cameras
- Enthusiast VS Pro Cameras
- Mirror-less or CSC Cameras
- The DSLR
- Recent Camera Developments
- Which Camera Should I Buy?
- Camera Features
- Service and accessories
- End usage
- Parts of a camera
- Camera Body
- Digital Sensor
- Lens
- Shutter
- Memory card
- Important Features of the Modern Camera
- Megapixels
- Sensor size
- Frames Per Second (Fps)
- ISO
- Light meter
- MASP
- Recommendations regarding cameras
- Some general observations on cameras
- The Pro Camera
- The Small Format Camera
- The DSLR Camera
- The Rangefinder Camera
- A Friendly Caution
- The Medium Format Camera
- The Large Format Camera
- Small & Medium Format DSLR Features
- Interchangeable Lenses
- Adjustable ISO
- Depth of Field Preview
- Integrated Light Meters
- Mirror Locking
- Self-Timer
- Lenses
- Uncovering the Lens
- Lens Overview
- The Science of lenses
- Focus
- Focal Length
- Aperture
- Angle of View
- Lens Types
- The Normal Lens
- Telephoto Lenses
- Wide-Angle Lenses
- Specialty Lenses & Attachments
- Macro Lenses
- Extension Rings, Tubes & Bellows
- Zoom Lenses
- Reflex Lenses
- Tilt-Shift Lenses
- Lens Faults & Flaws
- Spherical Aberrations
- Chromatic Aberration
- Barrel & Pincushion Distortion
- Flare & Vignetting
- Advanced Features of Modern lenses
- Multi-coating
- Auto focus (AF)
- Image stabilisation (IS) or Vibration reduction (VR)
- Filters
- Polarising Filters
- Nuetral Density (ND) Filters
- Taking Care of your Equipment
- Practical Lens Choices
- Food Photography
- Fashion Photography
- Portrait & Beauty Photography
- Architecture & Interior Photography
- Travel Photography
- Sport & Wildlife Photography
Module 2
 Module 2
Shutters, Aperture & Their Relationships
Learn how to control your camera and capture the images you have always imagined. George introduces powerful previsualisation techniques and provides an in-depth understanding of the settings available through your camera to achieve what you want, when you want.
Module Content:
- Shutters, Aperture & Stops of Light
- Shutter Types
- Focal Plane Shutters
- In Lens Shutter
- Exposure Stops
- Shutter Speed Stops
- Aperture Stops
- F/Stop Values
- The Advantage of Using F/Stops
- Full & Third Stop Reference Table
- Relationships & Depth of field
- Reciprocity
- What is depth of field?
- Depth of field (DOF) Overview
- Circles of Confusion
- Perceiving Sharpness
- Sharpness
- Depth of Field (DOF) Scale
- Hyperfocal Distance
- DOF Preview Button
- DOF Preview & DSLR Cameras
- DOF & The View Camera
- Digital Sensors & The View Camera
- DSLR Shooting Modes in Practice
- Manual (M)
- Aperture Priority (AV) or (A)
- Shutter Priority (TV) or (S)
- Program Mode (P)
- Exposure Compensation
- Composition
- The Rule of Thirds
- Leading lines
- Symmetry
- Negative Space
- Use the Foreground
- Shapes, Patterns & Repetition
- Orientation
- Fill the frame
- Putting It All Together
- Previsualisation
Module 3
 Module 3
ISO, Exposure & Metering
Accurate exposure is the basis for all photography and this module draws on methods popularised by the great Ansel Adams, modernised to give you an edge in a competitive world. As a professional or advanced amateur you will be able to capture any subject consistently and with growing confidence.
Module Content:
- Light Meters
- Overview
- Hand Held Meters
- In Camera Light Meters
- Average Reflective Metering
- Scenario 1: Light Scenes
- Scenario 2: Dark Scenes
- Incident Metering
- Spot Metering
- Digital ISO
- Understanding ISO
- Increasing Light Sensitivity
- Digital Noise
- High ISO, Contrast & Colour Distortion
- Auto ISO
- The Shutter Speed, Aperture & ISO Relationship
- The 18% Grey Card
- Palm Metering
- Dynamic Range & My Studio Light Metering Method
- What is Dynamic Range?
- Using Dynamic Range
- The Zone System
- An Introduction
- The Stepped Greyscale Test
- Zone System Basics
- RGB & Colour Basics
- RGB, Greyscale & Colour Bias
- Custom White Balance
- Building Your Zone Ruler
- The Initial Procedure, Compiling Exposure Data
- The Final Procedure, Constructing The Zone Ruler
- Understanding our Results
- Metering Colours & Other Tips
- On Metering
- The Sunny F/16 Rule
Module 4
 Module 4
The Film & Digital Process
A short step back in time provides the basis for effectively working and photographing in a digital world. In understanding what comes before, we are able to take full advantage of the tools we have at our disposal today for ever improving photographs.
Module Content:
- A Brief History of the Photographic Process
- The Optical Process
- The Chemical Process
- Analogue Image Capture
- The Composition of Film
- The Wet Process
- Film Fogging
- Darkroom Printing
- The Digital Darkroom
- Early Photo Manipulation
- The D-log E Curve of Film
- Digital Image Capture
- Digital Sensors
- CCD & CMOS Compared
- Tri-Linear Array Scanning Backs
- Film vs Digital
- Digital Advantages Over Film
- Digital Disadvantages
- The D-Log E Curve of Digital
- The Histogram
- In Camera Controls & What to do With Them
- RAW
- Adobe 1998 RGB
- sRGB
- Greyscale
- Saturation, Contrast & Sharpening
Module 5
 Module 5
Light & Colour
After understanding photographic equipment and exposure, light and colour is explored as defining factors in professional photography. Refine your ability to previsualise, see and think like a camera, then delve into post production techniques for monochromatic images.
Module Content:
- A Brief History of the Photographic Process
- The Optical Process
- The Chemical Process
- Analogue Image Capture
- The Composition of Film
- The Wet Process
- Film Fogging
- Darkroom Printing
- The Digital Darkroom
- Early Photo Manipulation
- The D-log E Curve of Film
- Digital Image Capture
- Digital Sensors
- CCD & CMOS Compared
- Tri-Linear Array Scanning Backs
- Film vs Digital
- Digital Advantages Over Film
- Digital Disadvantages
- The D-Log E Curve of Digital
- The Histogram
- In Camera Controls & What to do With Them
- RAW
- Adobe 1998 RGB
- sRGB
- Greyscale
- Saturation, Contrast & Sharpening
Module 6
 Module 6
Lighting
What is the world’s best lighting? This module takes an in depth look at natural and artificial lighting and how you can use these to your advantage. Explored in the context of portraiture, this knowledge is applied to all genres of photography and it is a crucial part of any good photographer’s education.
Module Content:
- About Light
- The Sun
- Colour
- Blue / Amber
- Green / Magenta
- Light Quality
- I Love Daylight
- Artificial Light Sources
- Using Flash Light
- Lighting Outdoors
- Time of Day
- The Weather
- Lighting People & Small Moveable Objects
- Fill In Flash
- Mirrors
- Scrims
- Reflectors
- Backlighting
- The World’s Best Lighting
- The Daylight Look Indoors
- Lighting Method 1: Simulated Hazy Day
- Lighting Method 2: Simulated Overcast Day
- Lighting Method 3: Simulated Full Sun
- Continuous Lights
- Hot Lights
- Tungsten Lighting
- Cool Lights
- Fluorescent & LED Lighting
- Fluorescent Lights
- LED Lights
- Balancing Flash & Daylight
- Flash Duration
- Portrait Lighting
- Unisex Portraiture Lighting Scheme
- The Vanity Index
- Lighting Men & Women
- The Law
Module 7
 Module 7
Refining The Image Process
George explains, through his extensive experience, the commercial realities surrounding photography and methods to help produce the best images you can. Learn from photographers you admire, analyse images to improve technique and recognise what they can be used for.
Module Content:
- The Big Question
- Commercial Reality
- Travel Photography
- Photojournalism
- Magazine Photography
- Advertising Photography
- The Little Photoshop on the Corner
- Back to Business – Taking Pictures
- Educate Yourself
- A Process for Photographing Objects
- A Mental Shooting Checklist
- Thinking Like a Lens
- Previsualisation
- Colour Management in Camera
- Adobe RGB (1998)
- sRGB
- ProPhoto RGB
- Image Preview
- In Camera Tools
- Low Resolution LCD Colour Preview
- Histograms
- Exposure Warning
- Working Tethered
- Improving your Photography
- The Photoshop Trap
- Warning, Danger Ahead!
- Sticking to a Subject
- Be Honest With Yourself
- Be Realistic
- A Word on Plagiarism & Improving Technique
- A Cut–Out Portfolio
- A Style To Call Your Own
Module 8
 Module 8
Equipment & Software
Where is technology going and what do you really need to be a successful photographer? Develop a clear understanding of the advantages and disadvantages that different equipment provides, for now and in the future.
Module Content:
- Camera Choices
- Format Size
- The Small Format Camera System
- Advantages
- Disadvantages
- The Medium Format Camera System
- Advantages
- Disadvantages
- The Large Format Camera System
- Advantages
- Disadvantages
- My Choice of Camera System
- Small Format DSLR System
- Small Format Compact Systems (CSC’s)
- Medium Format System
- Large Format System
- Questions & Considerations
- Buying Vs Hiring
- Buying Considerations
- Hiring
- Which Lenses Do I Need?
- Where is the Technology Going?
- Lighting Equipment
- Studio Flash Units
- Monobloc Studio Lights
- Using Multiple Speedlights
- Which Brand Should I Buy?
- Portability
- Tungsten Lighting
- Second Hand Gear
- Computers & Monitors
- The Calibration Device
- Data Storage
- Digital Video Disc – DVD’s
- Disc Do’s & Don’ts
- External Hard Drives
- RAID Arrays
- Solid State Drives
- The Future of File Storage
- Future Proofing your Files
- My Storage System
- The Graphics Tablet
- Capture Software
- Capture One Software
- Adobe Photoshop, Bridge & Camera RAW
Module 9
 Module 9
Retouching, Resolution & Printing
Since the dark room, post production and printing has been a defining part of all photography. This module addresses how to get the best out of your images when it comes time to edit and print your work.
Module Content:
- Image Retouching Software
- Adobe Photoshop (PS)
- Adobe Photoshop Elements (PSE)
- Adobe Photoshop Lightroom (Lr)
- Capture One
- Aperture by Apple
- Corel Paint Shop Pro
- Affinity Photo by Serif
- Other Image Editing & Retouching Tools
- The Interesting Issue of DPI & PPI
- Image File Size… How Big is Big Enough?
- Output Devices & Resolution Requirments
- Photo Quality Inkjet Printers
- Offset Printers
- Lines Per Inch & DPI Conversions
- The Professional Print Lab
- The Web
- Dot Gain
- Your Work Space
- Work in RGB
- Gamma
- Gamut
- Gamut Warnings
- The CMYK Colourspace
- Bit Depth
- Colour Channels in Photoshop
- File Formats for Digital Imaging & Printing
- CAMERA RAW
- DNG
- JPEG
- Print Bound Images
- PSD Photoshop’s File Format
- TIFF
- EPS
- GIF
- JPEG 2000
- Other Random File Formats
- Working With 16 BIT Files
- 16-Bit Capture & ACR
- Converting 8-Bit Images to 16-Bit
- 16-Bit Editing
- Photoshop Retouching
- HDR for High Contrast SCenes
- Interpolation
- Photoshop Toolbox
- Quick Masking
- Photoshop’s Densitometer
- Adjustment Layers
- Sharpening
- Every Digital Image Requires Sharpening
- Unsharp Mask (USM)
- Traps For Young Players
- My Sharpening Methodology
- Selective Sharpening
- Camera RAW Image Adjustment Basics
- Camera RAW Tools
- Adobe Lightroom Image Adjustment Basics
- Do Your Prints Look Like The Screen Image?
- Greyscale Print Test
- Calibration The Whole Shebang
Module 10
 Module 10
Photography Business and Studio Essentials
Working in a studio has many advantages for a photographer. Whether this is full time or only a passing requirement of your photographic practices, it is important that you are familiar with a studio space and the equipment it contains.
Module Content:
- The Photographer’s Studio
- Do I Need a Studio?
- Hiring a Studio
- Sharing
- How Big A Studio Do I need?
- Working From Home
- The Perils
- The Joys
- The Wedding & Portrait Studio
- In Your Studio
- The Question of Daylight
- Ceiling Height
- Poly Boards
- Must Haves
- Equipment
- Bus & Train Routes
- Parking
- Security
- Hiring Out Your Precious Studio
- Start Small
- Where to Begin
Module 11
 Module 11
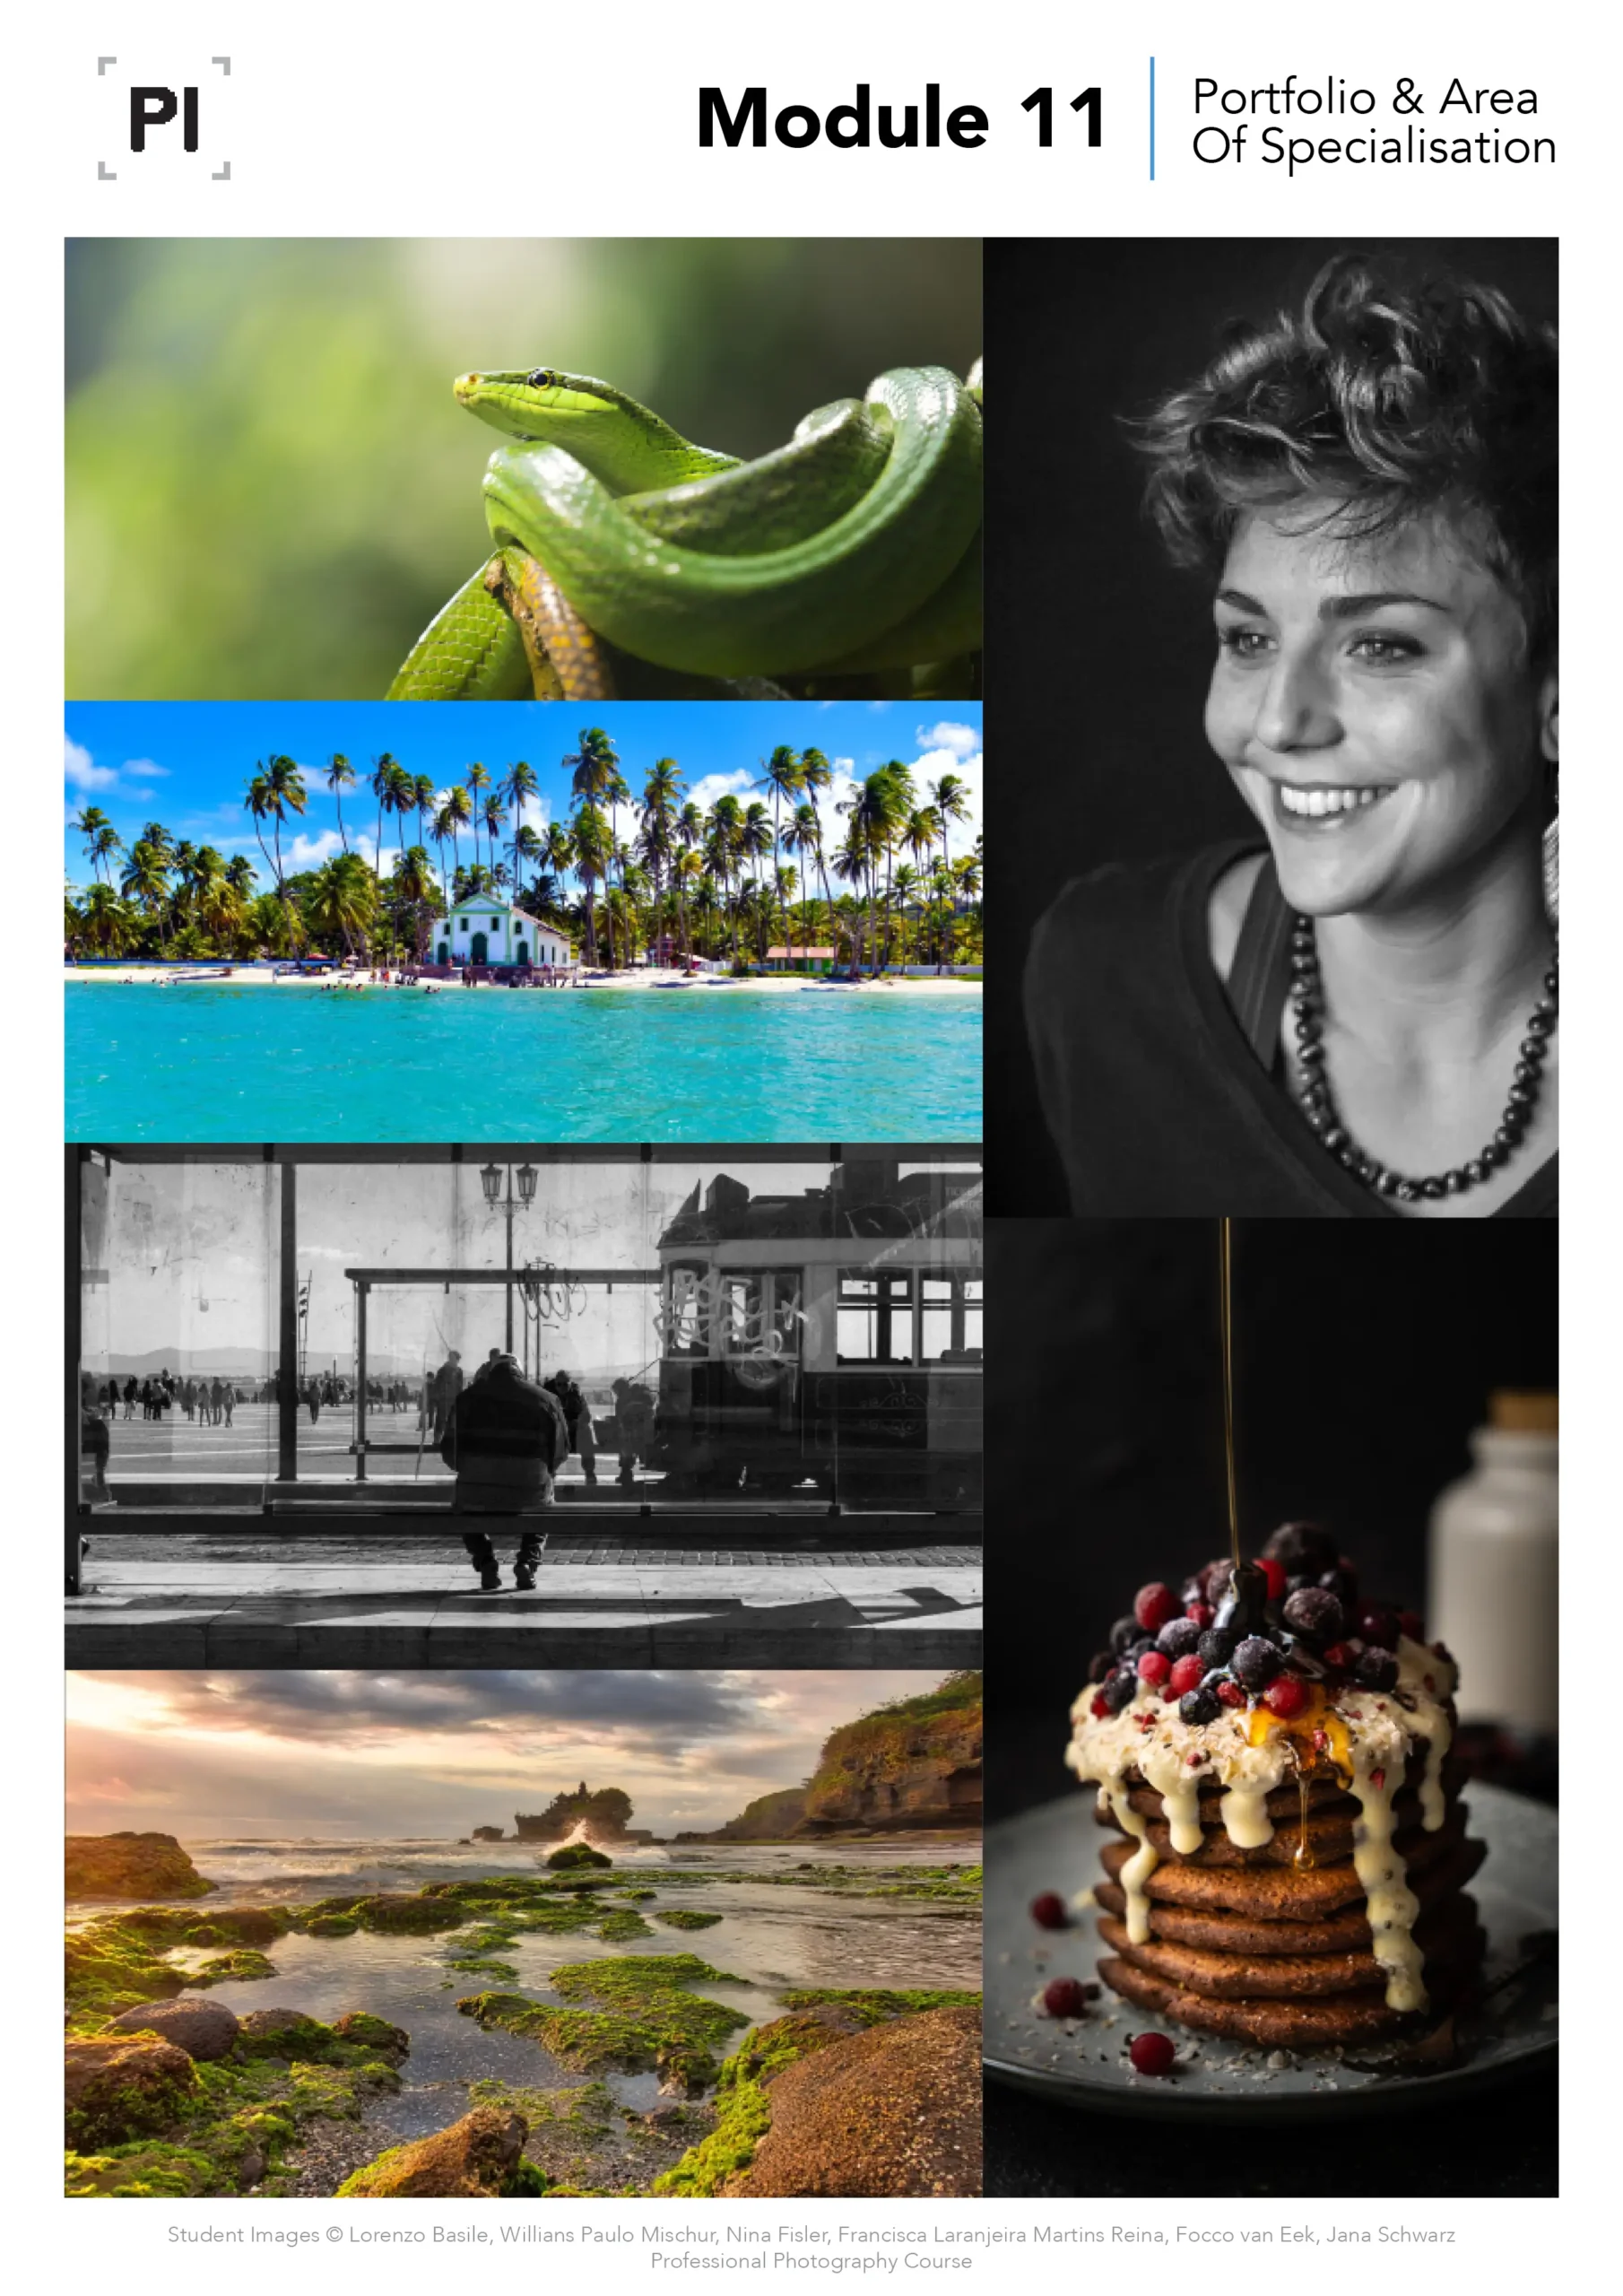
How To Construct A Professional Portfolio
Constructing a portfolio is one of the most important tasks a photographer carries out. This is ever changing and must develop as your photography develops. George explains the process and how to put your best foot forward in all circumstances.
Module Content:
- Where To Begin
- Selecting a Speciality Area
- The photographer’s assistant
- Career Path Suggestions
- Fashion & Beauty
- Portraiture
- Weddings & Family
- Glamour & Boudoir
- Photojournalism
- Landscapes, Travel & Resort
- Food
- Product & Still Life
- Architecture & Interiors
- Art Photography
- Industrial & Corporate
- Real Estate and Drones
- Cars
- The Professional Portfolio
- Look at the Work of Other Photographers
- Look at Stylist’s Portfolios for Ideas
- How to Find the Right People to Schmooze
- Talk to Photo Agents
- Be Ruthless – Do Not Dilute Your Portfolio
- Is One Folio Enough?
- Get Other Opinions
- Think About Your Presentation
- This is Where to Spend Money Wisely
- Some Ideas on Marketing Tools
- A New Portfolio Approach
- Advantages of a Tablet Style Portfolio
- Disadvantages of a Tablet Style Portfolio
Module 12
 Module 12
Photo Agents – Picture Agenies. How To Get Work & Keep It
As a professional or advanced amateur creating a style to call your own can help set you apart from the masses. Be an individual, work smart as well as hard and photography will be a lifelong passion as well as a rewarding career if you so choose.
Module Content:
- The Photographer’s Agent
- The Role of the Agent
- The Photographer/Agent Relationship
- How to Find a Photo Agent
- Avoid Mixed Agencies if You Can
- Be Prepared for Your Interview… You Only Get One Chance
- Fees & Charges
- Agency Politics
- Don’t Argue!
- Photo Libraries & Picture Agencies in a Nutshell
- The Copyright Issue
- How to Submit Images
- Be Organised
- Do Your Homework
- Write Down Names in the Lift
- Sell Yourself!
- Going It Alone
- Befriend the Art Buyer
- A Final Word